Course Tour
A gentle handshake to welcome you to your round, there is trouble in the form of ponds on your tee shot, but you've got to be about 40 yards offline either way to worry about them. The green slopes back to front and is only slightly influenced by the bunker guarding the left side, making this the third easiest par four on the course.
Hole 1
Hole 2
Hole 3
Hole 4
Hole 5
Hole 6
Hole 7
Hole 8
Hole 9
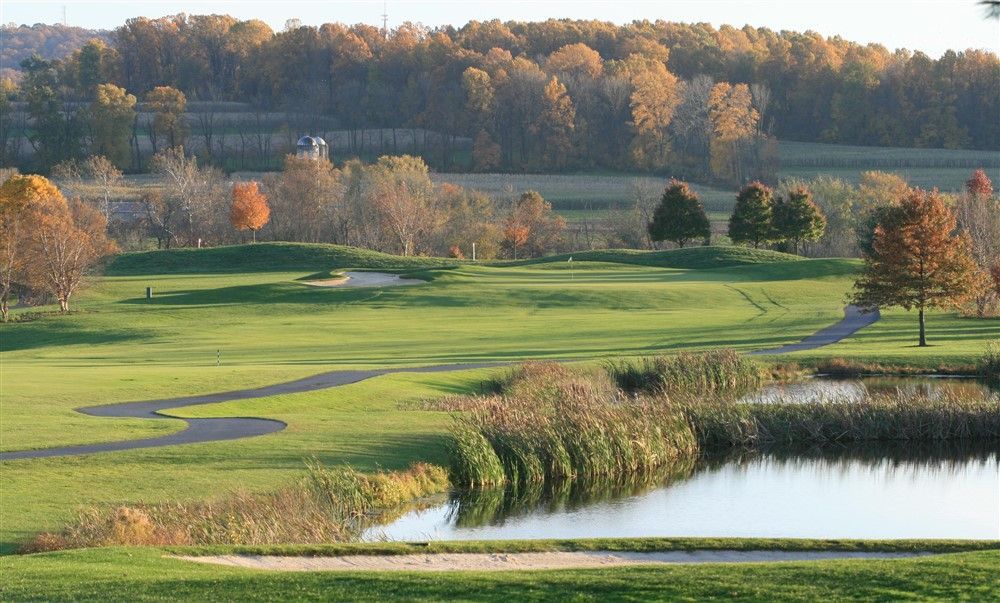
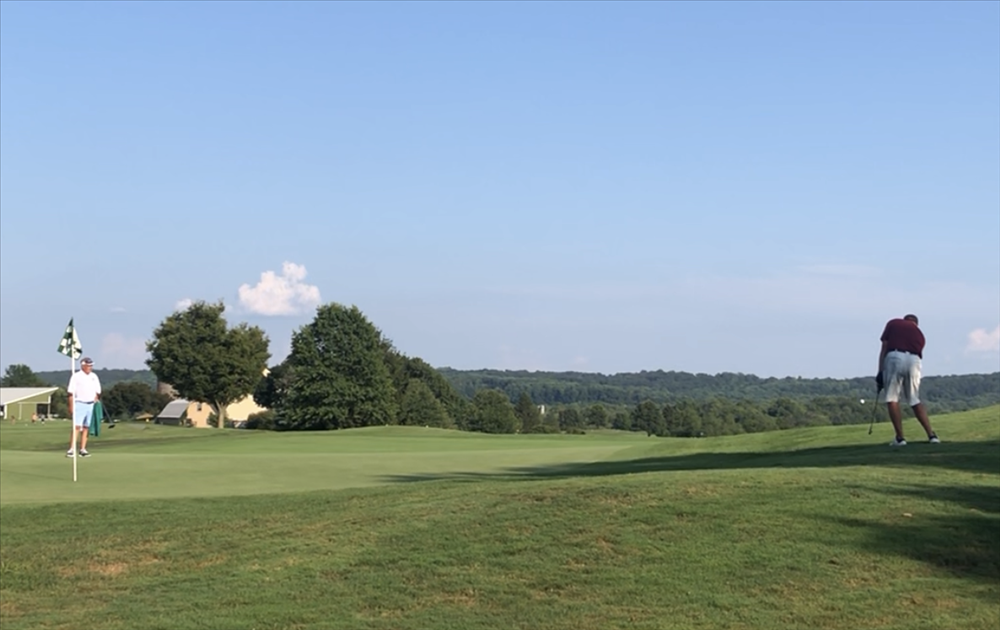
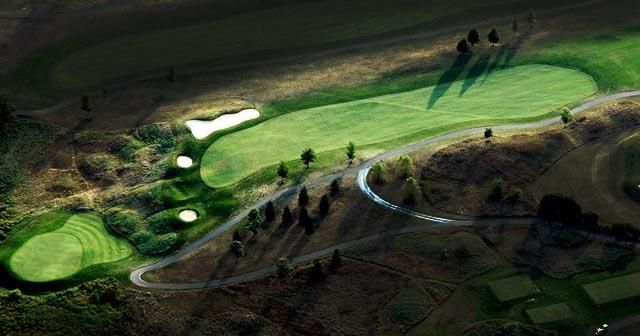
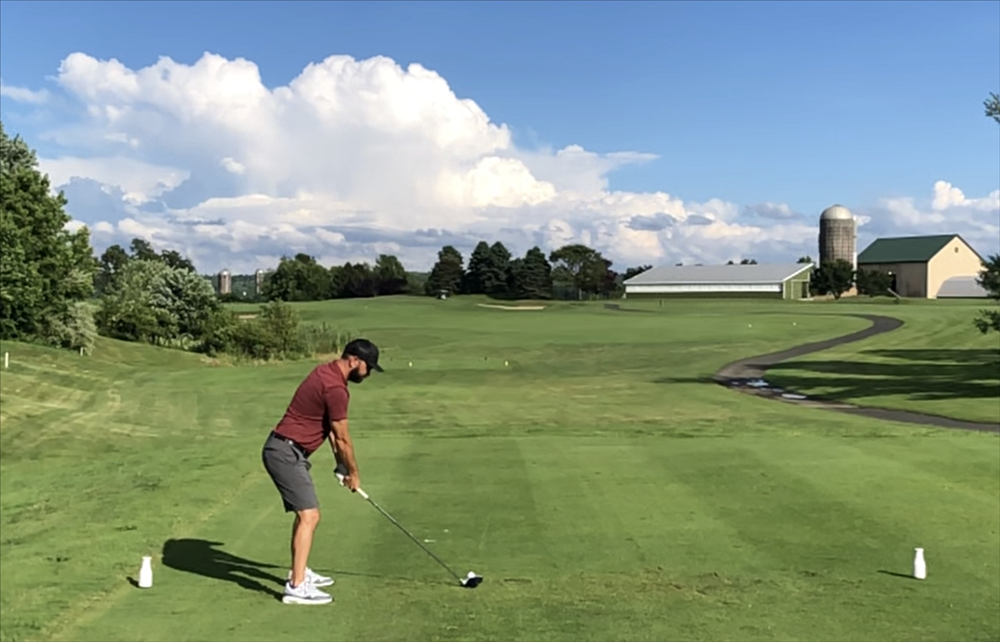
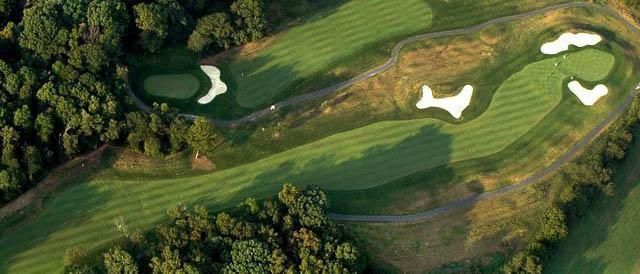
Hole #1 Par 4
Tee 1: 215 yards Tee 2: 261 yards Tee 3: 291 yards Tee 4: 321 yards Tee 5: 341 yards Tee 6: 371 yards
A gentle handshake to welcome you to your round, there is trouble in the form of ponds on your tee shot, but you've got to be about 40 yards offline either way to worry about them. The green slopes back to front and is only slightly influenced by the bunker guarding the left side, making this the third easiest par four on the course.
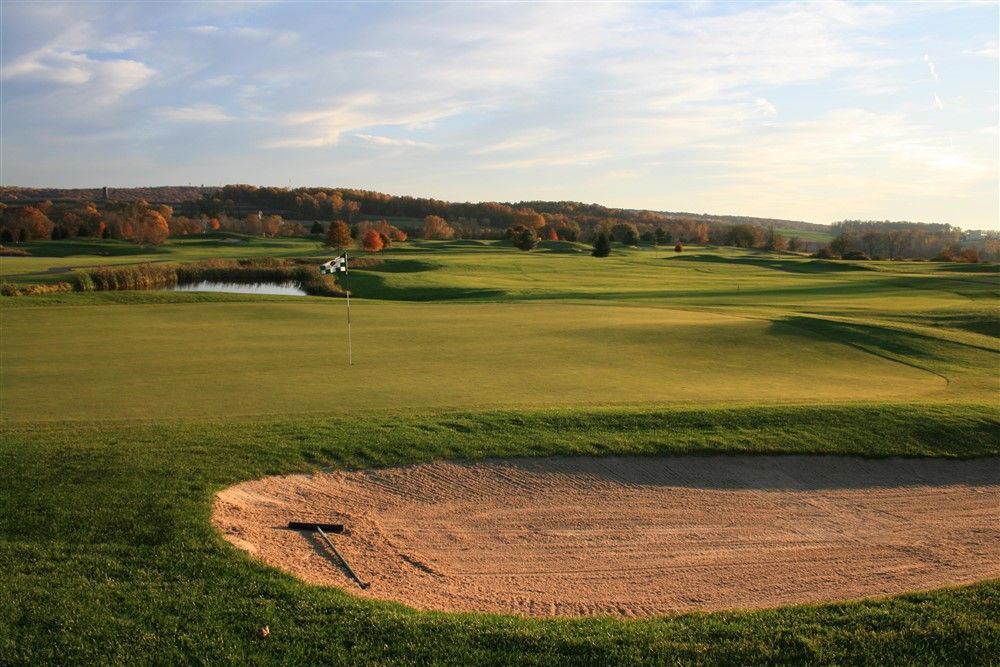
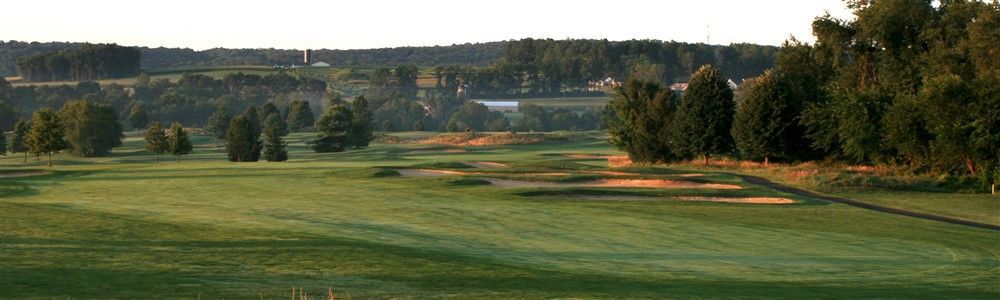
Hole #2 Par 4
Tee 1: 203 yards Tee 2: 252 yards Tee 3: 296 yards Tee 4: 331 yards Tee 5: 353 yards Tee 6: 371 yards
You'll want to stay left off the tee to avoid the ponds and to give yourself a better angle in to this green. The prevailing winds are almost always pushing left to right, and they love carrying poorly hit tee shots into the water. Sand traps guard the front and back of this green, which slopes toward the ponds.
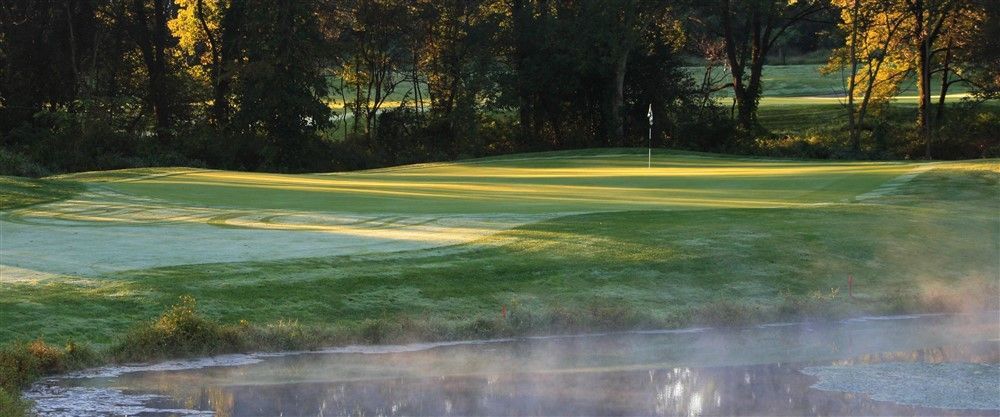
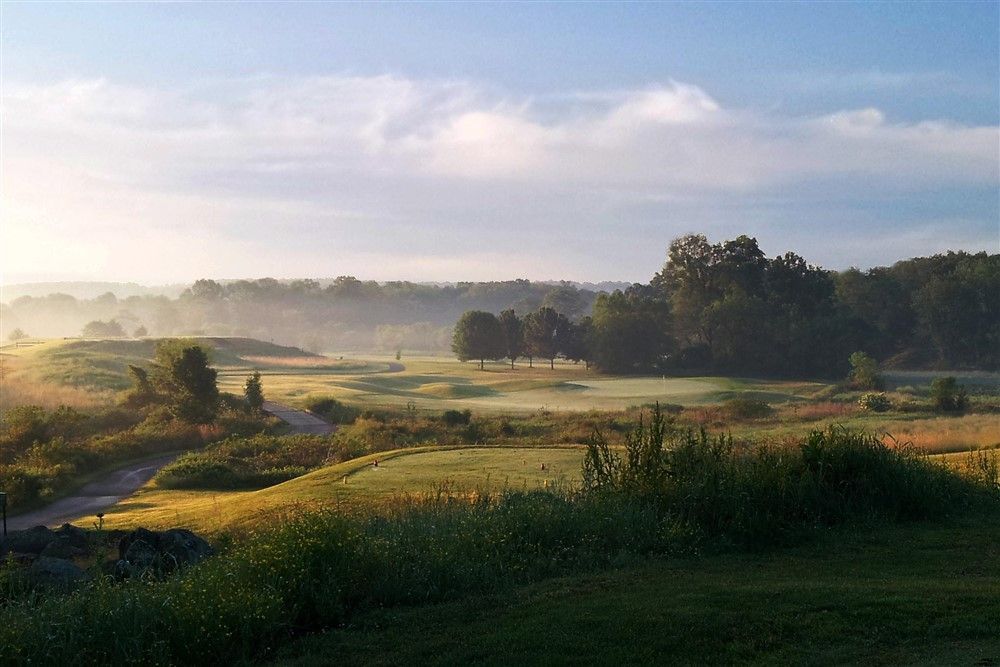
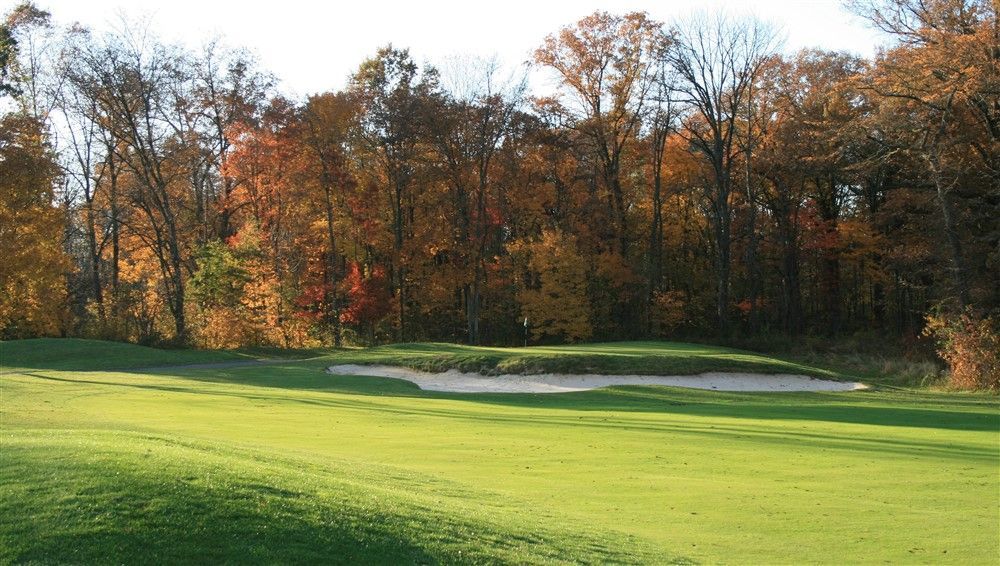
Hole #3 Par 3
Tee 1: 82 yards Tee 2: 117 yards Tee 3: 144 yards Tee 4: 158 yards Tee 5: 172 yards Tee 6: 189 yards
The first of many challenging par threes you'll play, this hole usually plays into the prevailing wind. The only trouble is behind the hole in the form of sand, but find yourself on the mound left of the green and good luck hitting a chip shot that will hold as the green runs away from you.
Hole #4 Par 5
Tee 1: 261 yards Tee 2: 292 yards Tee 3: 330 yards Tee 4: 377 yards Tee 5: 472 yards Tee 6: 510 yards
NOTE: Hole #4 is currently closed. For scoring purposes, USGA rules apply. Hole #4 should be recorded as a net par.
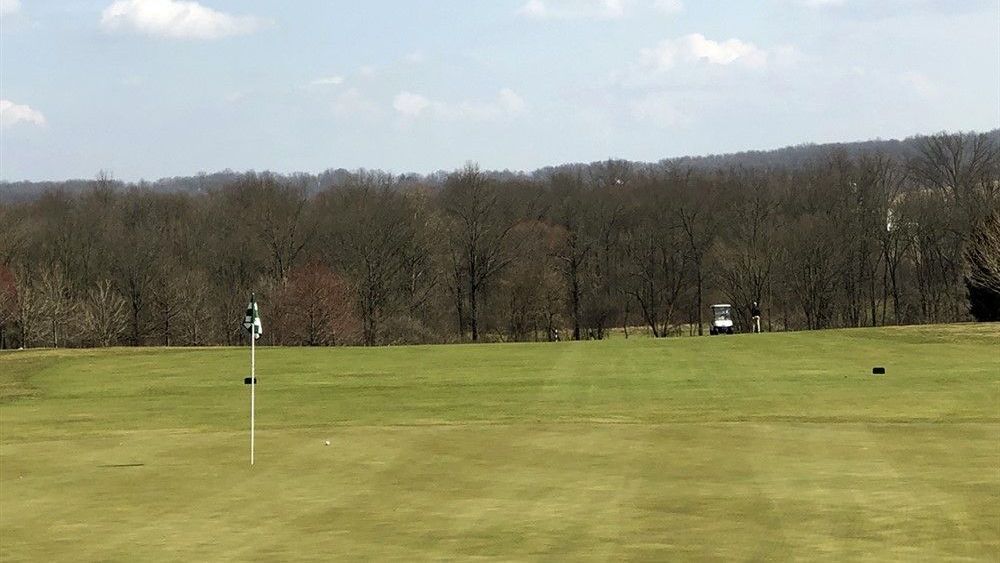
Hole #5 Par 4
Tee 1: 219 yards Tee 2: 259 yards Tee 3: 304 yards Tee 4: 333 yards Tee 5: 391 yards Tee 6: 417 yards
The No. 1 handicap hole because of a blind tee shot and an approach shot that has to carry water. A great drive will leave you a short iron in, but you'll be punished with anything but great off the tee as you'll likely have 170-200 yards in over water on a downhill lie.
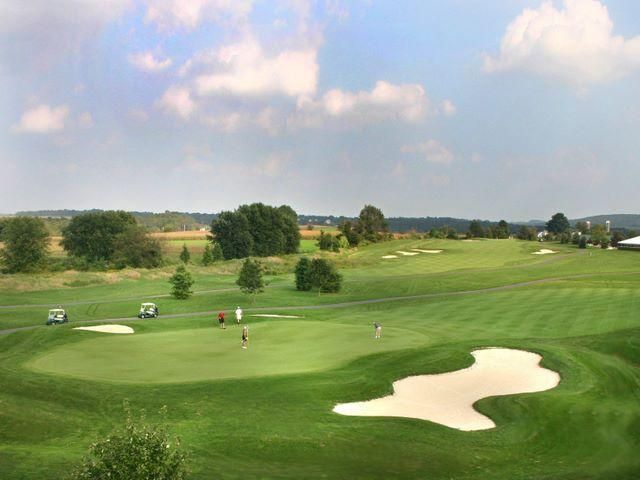
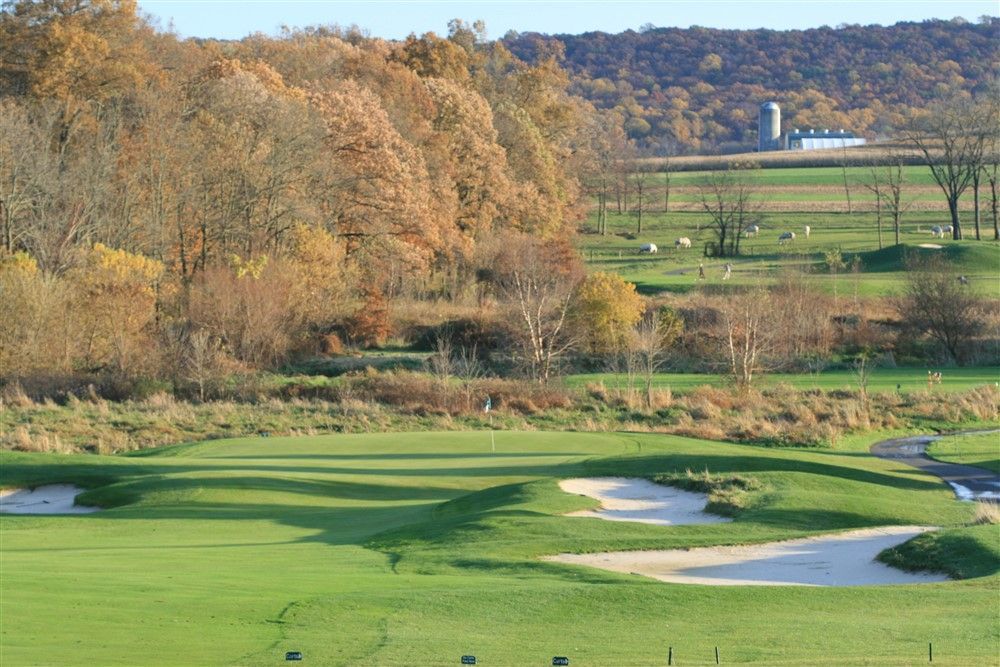
Hole #6 Par 4
Tee 1: 206 yards Tee 2: 249 yards Tee 3: 307 yards Tee 4: 365 yards Tee 5: 379 yards Tee 6: 397 yards
While Hole 5 plays as the number one handicap hole, many members will tell you that Hole 6 is a tougher hole to par on most days. It plays straight up the hill, and usually into a prevailing wind. While there's not much trouble around the green, just a bunker on the left and right, it's a tough green to find in two shots. Pin position #3, in the back right, is the most challenging.
Hole #7 Par 4
Tee 1: 173 yards Tee 2: 195 yards Tee 3: 234 yards Tee 4: 284 yards Tee 5: 317 yards Tee 6: 337 yards
A short but challenging hole as a fairway that runs out at about 235 yards forces many players to hit less than driver. The approach into the green features a significant elevation drop, and the green itself is surrounded left, right, and behind by an environmentally protected area with red stakes.
Hole #8 Par 3
Tee 1: 64 yards Tee 2: 66 yards Tee 3: 104 yards Tee 4: 124 yards Tee 5: 147 yards Tee 6: 219 yards
The eighth hole is a tough par 3, and the unpredictable Honeybrook wind sometimes complicates the issue. You're dead short or right, but there is plenty of bail out to the left. If you fail to keep it in play off the tee you can drop it on the other side of the bridge.
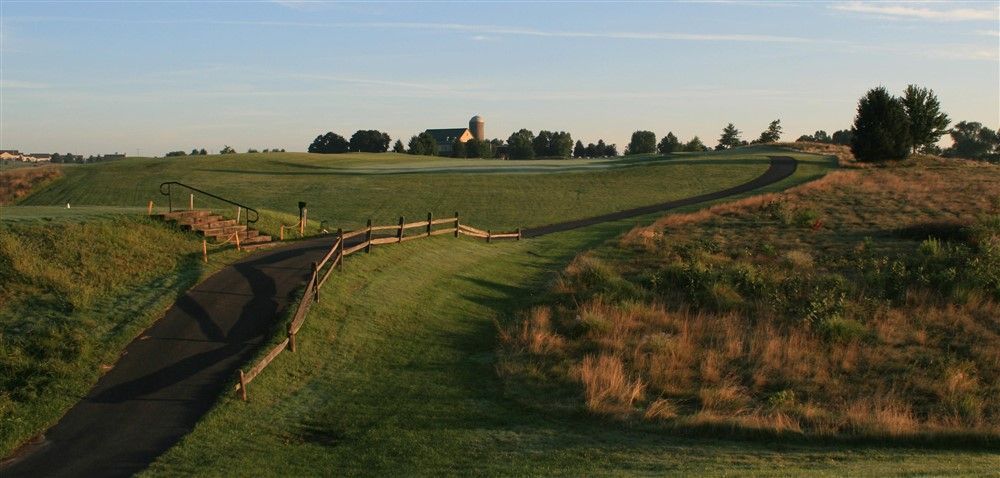
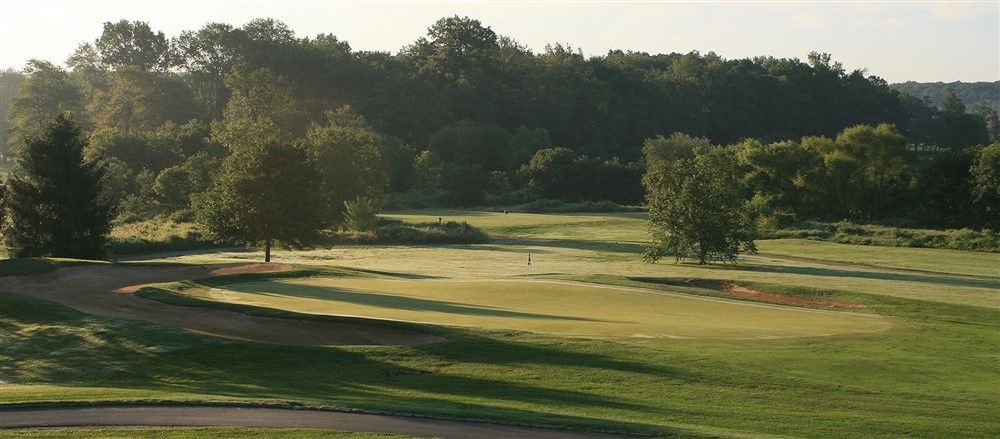
Hole #9 Par 4
Tee 1: 198 yards Tee 2: 237 yards Tee 3: 241 yards Tee 4: 284 yards Tee 5: 362 yards Tee 6: 405 yards
Elevated tees for the blues and whites help, but its still a long uphill run to the ninth hole.
The right side of the fairway is usually preferred as there's a deep bunker guarding the left side of the green. Be careful not to go long with your approach shot as there is a red-staked area behind the green.
Hole 10
Hole 11
Hole 12
Hole 13
Hole 14
Hole 15
Hole 16
Hole 17
Hole 18
Hole #10 Par 3
Tee 1: 79 yards Tee 2: 100 yards Tee 3: 144 yards Tee 4: 174 yards Tee 5: 199 yards Tee 6: 229 yards
A long par 3 made more difficult when the prevailing west wind blows into you. Three bunkers guard the green that runs very deep.
Hole #11 Par 4
Tee 1: 222 yards Tee 2: 255 yards Tee 3: 280 yards Tee 4: 325 yards Tee 5: 393 yards Tee 6: 426 yards
This long par 4 has a slight dogleg to the left and usually plays downwind. Cut the corner by going over the penalty area on the left, and if you can carry the three bunkers you'll have less than 150 in. Aim out at the fairway bunker straight ahead, and if you can avoid it, you'll have 150-175 in.
Hole #12 Par 5
Tee 1: 304 yards Tee 2: 364 yards Tee 3: 405 yards Tee 4: 452 yards Tee 5: 527 yards Tee 6: 561 yards
The longest and most beautiful hole at Honeybrook. With a tailwind you may be able to hit the green in two, but be careful because the fairway pinches in around 75 yards out by an environmental penalty area on your left. Pin position #3 in the back left is considered by most members to be one of the toughest holes to putt to on the course.
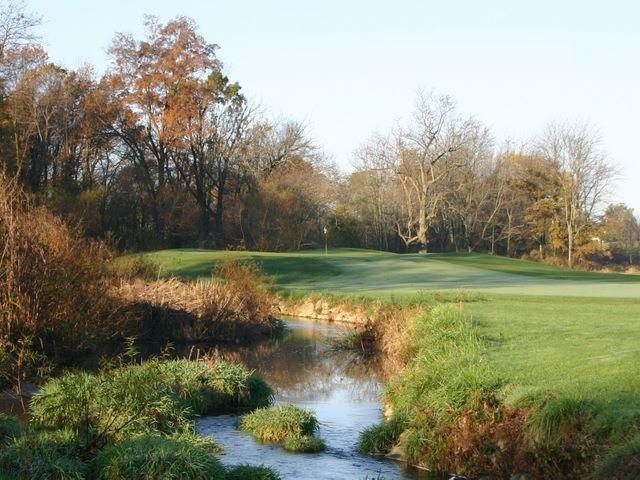
Hole #13 Par 4
Tee 1: 68 yards Tee 2: 91 yards Tee 3: 101 yards Tee 4: 125 yards Tee 5: 147 yards Tee 6: 168 yards
It's an easy par 3 if you don't get freaked out by the Brandywine Creek running along the left side. Careful - prevailing wind can knock one or two club lenghths off your tee shot.
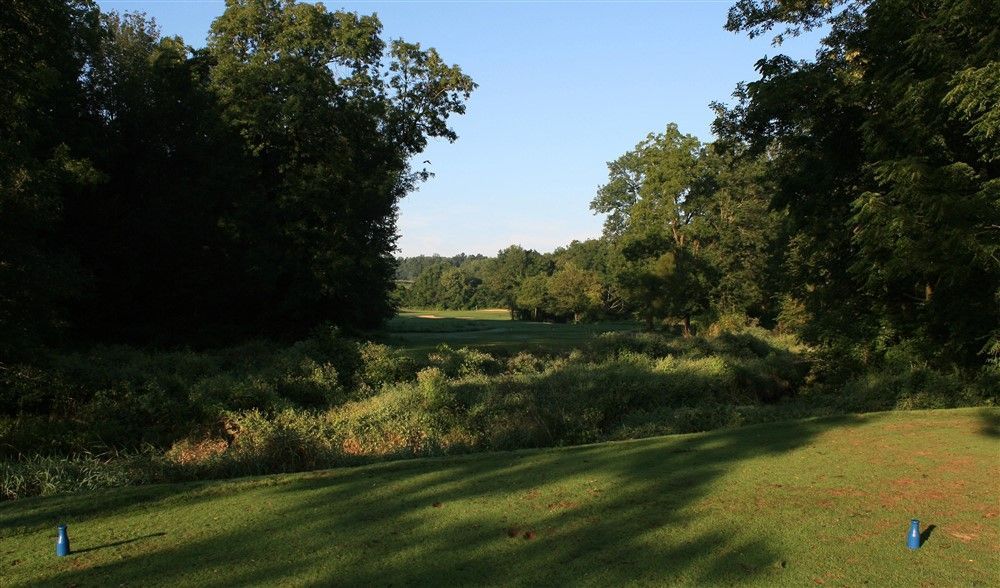
Hole #14 Par 5
Tee 1: 163 yards Tee 2: 177 yards Tee 3: 201 yards Tee 4: 233 yards Tee 5: 274 yards Tee 6: 321 yards
The start of Amish Corner features this short par 4, where leads can sometimes vanish in a flash. From the blue tees it is one of the most daunting shots on the course, but up ahead 40 yards from the white tees it is less visually intimidating. There's a moderate forced carry over an environmental area, and the Brandywine Creek runs up the entire right side of the hole. You don't need to hit driver here, but if you can keep one in play, you're rewarded with a 50-75 yard pitch shot in.
Hole #15 Par 4
Tee 1: 346 yards Tee 2: 376 yards Tee 3: 402 yards Tee 4: 445 yards Tee 5: 517 yards Tee 6: 547 yards
The 15th hole is the last par 5 and a beautiful place to be. Other than the tee shot from #14 Blues, this is probably the most demanding tee shot on the course. A butter cut through a cathedral of tall oaks will put you in position to give it all you have on your second shot, and you still probably won't reach the green in two. Standing on the green, you're on the farthest point of the course with grazing white Amish work horses on one side and a grand view of the clubhouse on the other. The second hole of Amish Corner is a true 3-shot par five for just about everyone.
Hole #16 Par 3
Tee 1: 160 yards Tee 2: 179 yards Tee 3: 221 yards Tee 4: 243 yards Tee 5: 289 yards Tee 6: 281 yards
The final hole of Amish Corner is a short birdie hole if you're good with your wedge or deadly accurate with your driver. There are red-staked woods that run along the right side, and plenty of bail out left. If the pin is up front in position #1 or #3, some members lay back with an iron off the tee to have a longer shot in. The green is relatively small and hard, and protected by a menacing front bunker.
Hole #17 Par 4
Tee 1: 85 yards Tee 2: 89 yards Tee 3: 117 yards Tee 4: 140 yards Tee 5: 159 yards Tee 6: 180 yards
The shortest and easiest hole at Honeybrook, this is your reward for making it through Amish Corner. A couple of bunkers surround the green which slopes to the right. Its built on a former archeological site that shows evidence of human activity going back 2,000 years, when the Brandywine valley was a prolific hunting and fishing ground.
Hole #18 Par 4
Tee 1: 210 yards Tee 2: 242 yards Tee 3: 275 yards Tee 4: 283 yards Tee 5: 329 yards Tee 6: 402 yards
Elevated tees for the blues and whites help, but its still a long uphill run to the ninth hole.
The right side of the fairway is usually preferred as there's a deep bunker guarding the left side of the green. Be careful not to go long with your approach shot as there is a red-staked area behind the green.